My sister has had a really tough year. She fractured her spine playing volleyball this past September and has had to be in a giant brace for the majority of the year. On top of the brace, complications of physical therapy, and the potential for back surgery at the age of 13, there were a couple of outside factors that added tremendous emotional strain. While I won’t go into those details because it is not my story to tell, I can say that there is light at the end of the tunnel and most of the large hills have been climbed.
Now that she is going into high school this fall, my mom and I wanted to surprise her with something special to “reset” the trajectory of 2022. My sister and her scholastic team qualified for nationals which were held in Nashville, TN so for the past couple of months my mom and I planned to give her a complete room makeover while they were gone. That meant I had 7 days to tackle a complete room project that included: paint, closet demo and revamp, custom desk build, accent wall, new light fixture, and all the details in between.
You can watch the whole process on my Instagram: @theroostingplace
I consulted with my mom and sister to gauge exactly what they needed from this room. My mom wanted to ensure she had plenty of storage space and my sister wanted a modern boho vibe with greens and neutral bases. I also wanted to make sure this room was age-appropriate but would grow effortlessly with her over the upcoming years.
This post contains affiliate links.
The initial design:

The Before
This room used to be my mom’s craft room. My sister had outgrown her old room (built-in loft bed) and so they are using her old room as the office, and turning the craft room into her bedroom.


This makeover was challenging and I ran on fumes most of the week which peaked anxieties about not completing it on time. But when I say my husband is a rockstar, I mean it. He was willing to spend our weekend finishing the heavy lifting and fine-tuning to make this dream a reality. I’m so thankful for partners like Framebridge and Boutique Rugs (use code ROOSTINGPLACE for an additional 5% discount) for gifting some products featured in Lyndsey’s room. Those finishing touches really make a difference!
You can watch the whole process on my Instagram highlights.
The After


Links
Sun Pillow (similar style)
Sheets (super soft Amazon sheets!)
LED Strip Lights (these were having some issues sticking)
Paint Colors:

SW Coastal Plain
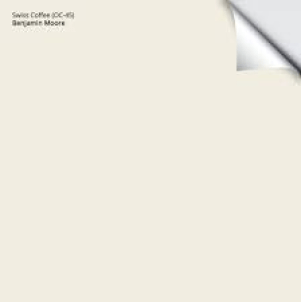
BM Swiss Coffee
This speed makeover was so fun to do, and the joy that it brought will be a memory I will cherish forever. I cannot wait to watch her grow into this space and give her own creative touches over the years to come.


Talk soon.
xx, Lanna