Tips for making and keeping a bountiful garden.
This post contains affiliate links and sponsored product mentions.
I like to think of every season as a new opportunity to grow and expand, each presenting unique opportunities unlike the last. The garden is the perfect example of the unpredictable circumstances that life presents us with. Temperatures fluctuate, rainfall differs, and pests cycle through-all factors in how your garden will flourish or fail. For example, two years ago my cucumbers gave me jars of pickles to share with family and friends…last year the temperatures were a record high, rainfall was a record low, and my plants shriveled before they had the opportunity to produce a single flower.
I’ve tried a few times to start a garden journal, recording what/ when I planted or what I did well, all tucked into a neatly bound book. I have failed miserably, resorting back to the chaos: “If it survives to see another day, then it’s a keeper”. Honestly, I believe every gardener has to share this sentiment on some level or else we would all lose our minds striving for perfection in a stacked race against nature.

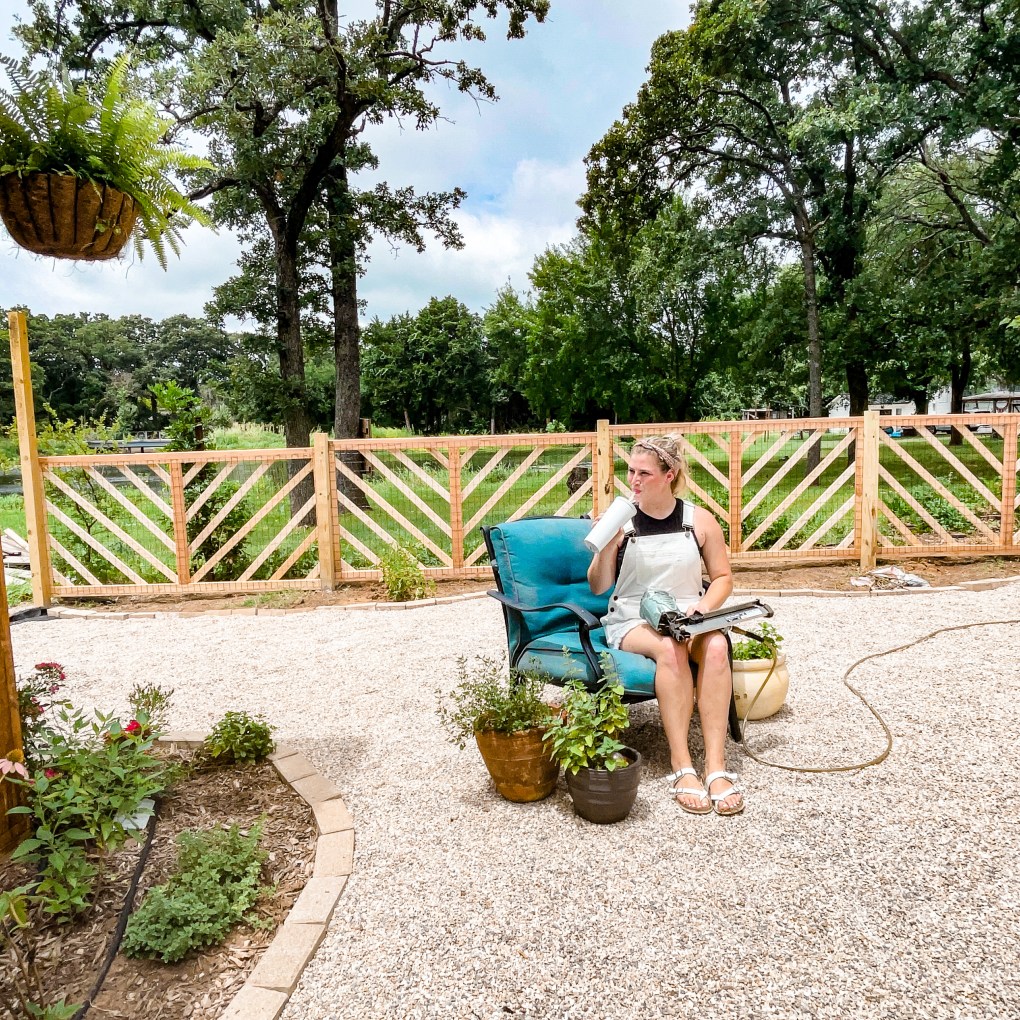
Now that our home is complete and life is starting to form some sense of routine and regularity for the first time in years, I wanted to set focus on making my garden truly functional to our needs. The past couple of years has been about getting my toes wet, and learning how my environment affects certain things I like to look at or eat. Now: I want not only a pretty garden but a bountiful one as well.
Let’s dive into ways to make a garden both of these things.
1.) Invest in a good quality soil and compost mixture. Strong plants start with healthy soil.
2.) Spend 10 minutes in the garden daily. This not only will keep you on top of any issues that may arise, you may also find yourself feeling lighter and calmer after spending some time in the dirt.
3.) Plant what you enjoy. This will make the above easier.
4.) Minimize clutter with a Hose Reel by HoseLink. I absolutely love how adding in my 82′ Retractable Hose Reel (in Beige) minimized the visual clutter of tangled hoses. These hoses also come with quick-link connections for simple, hassle-free watering. The Retractable Garden Hose Reel is a wall-mounted unit featuring a high-quality spring-loaded hose that automatically rewinds on command, making watering a breeze and cleanup even easier.


5. Make use of vertical space! By utilizing trellises and archways, you can maximize any garden space. Think outside your norm and plant vining vegetables like squash, pumpkins, and cucumbers to reduce pests and disease!
Make your garden work for YOU, and don’t be afraid to make mistakes and change things up as you learn. Happy Gardening friends!
Talk soon,
xx, Lanna