Decoupaging is a simple way to add personality to any surface, and when I heard of a “cheaper” way to apply paper via glue I knew I had to test it out. Keep reading to see which method I found to work best for me and my Murphy Bed Shelving Back project!
You can find this and other DIY projects on my Instagram @theroostingplace.
de·cou·page /dāko͞oˈpäZH/ the art of decorating surfaces by applying cutouts (as of paper) and then coating with usually several layers of finish (such as lacquer or varnish)
Merriam-webster dictionary
How to Decoupage
The process of decoupage is a fairly simple art:
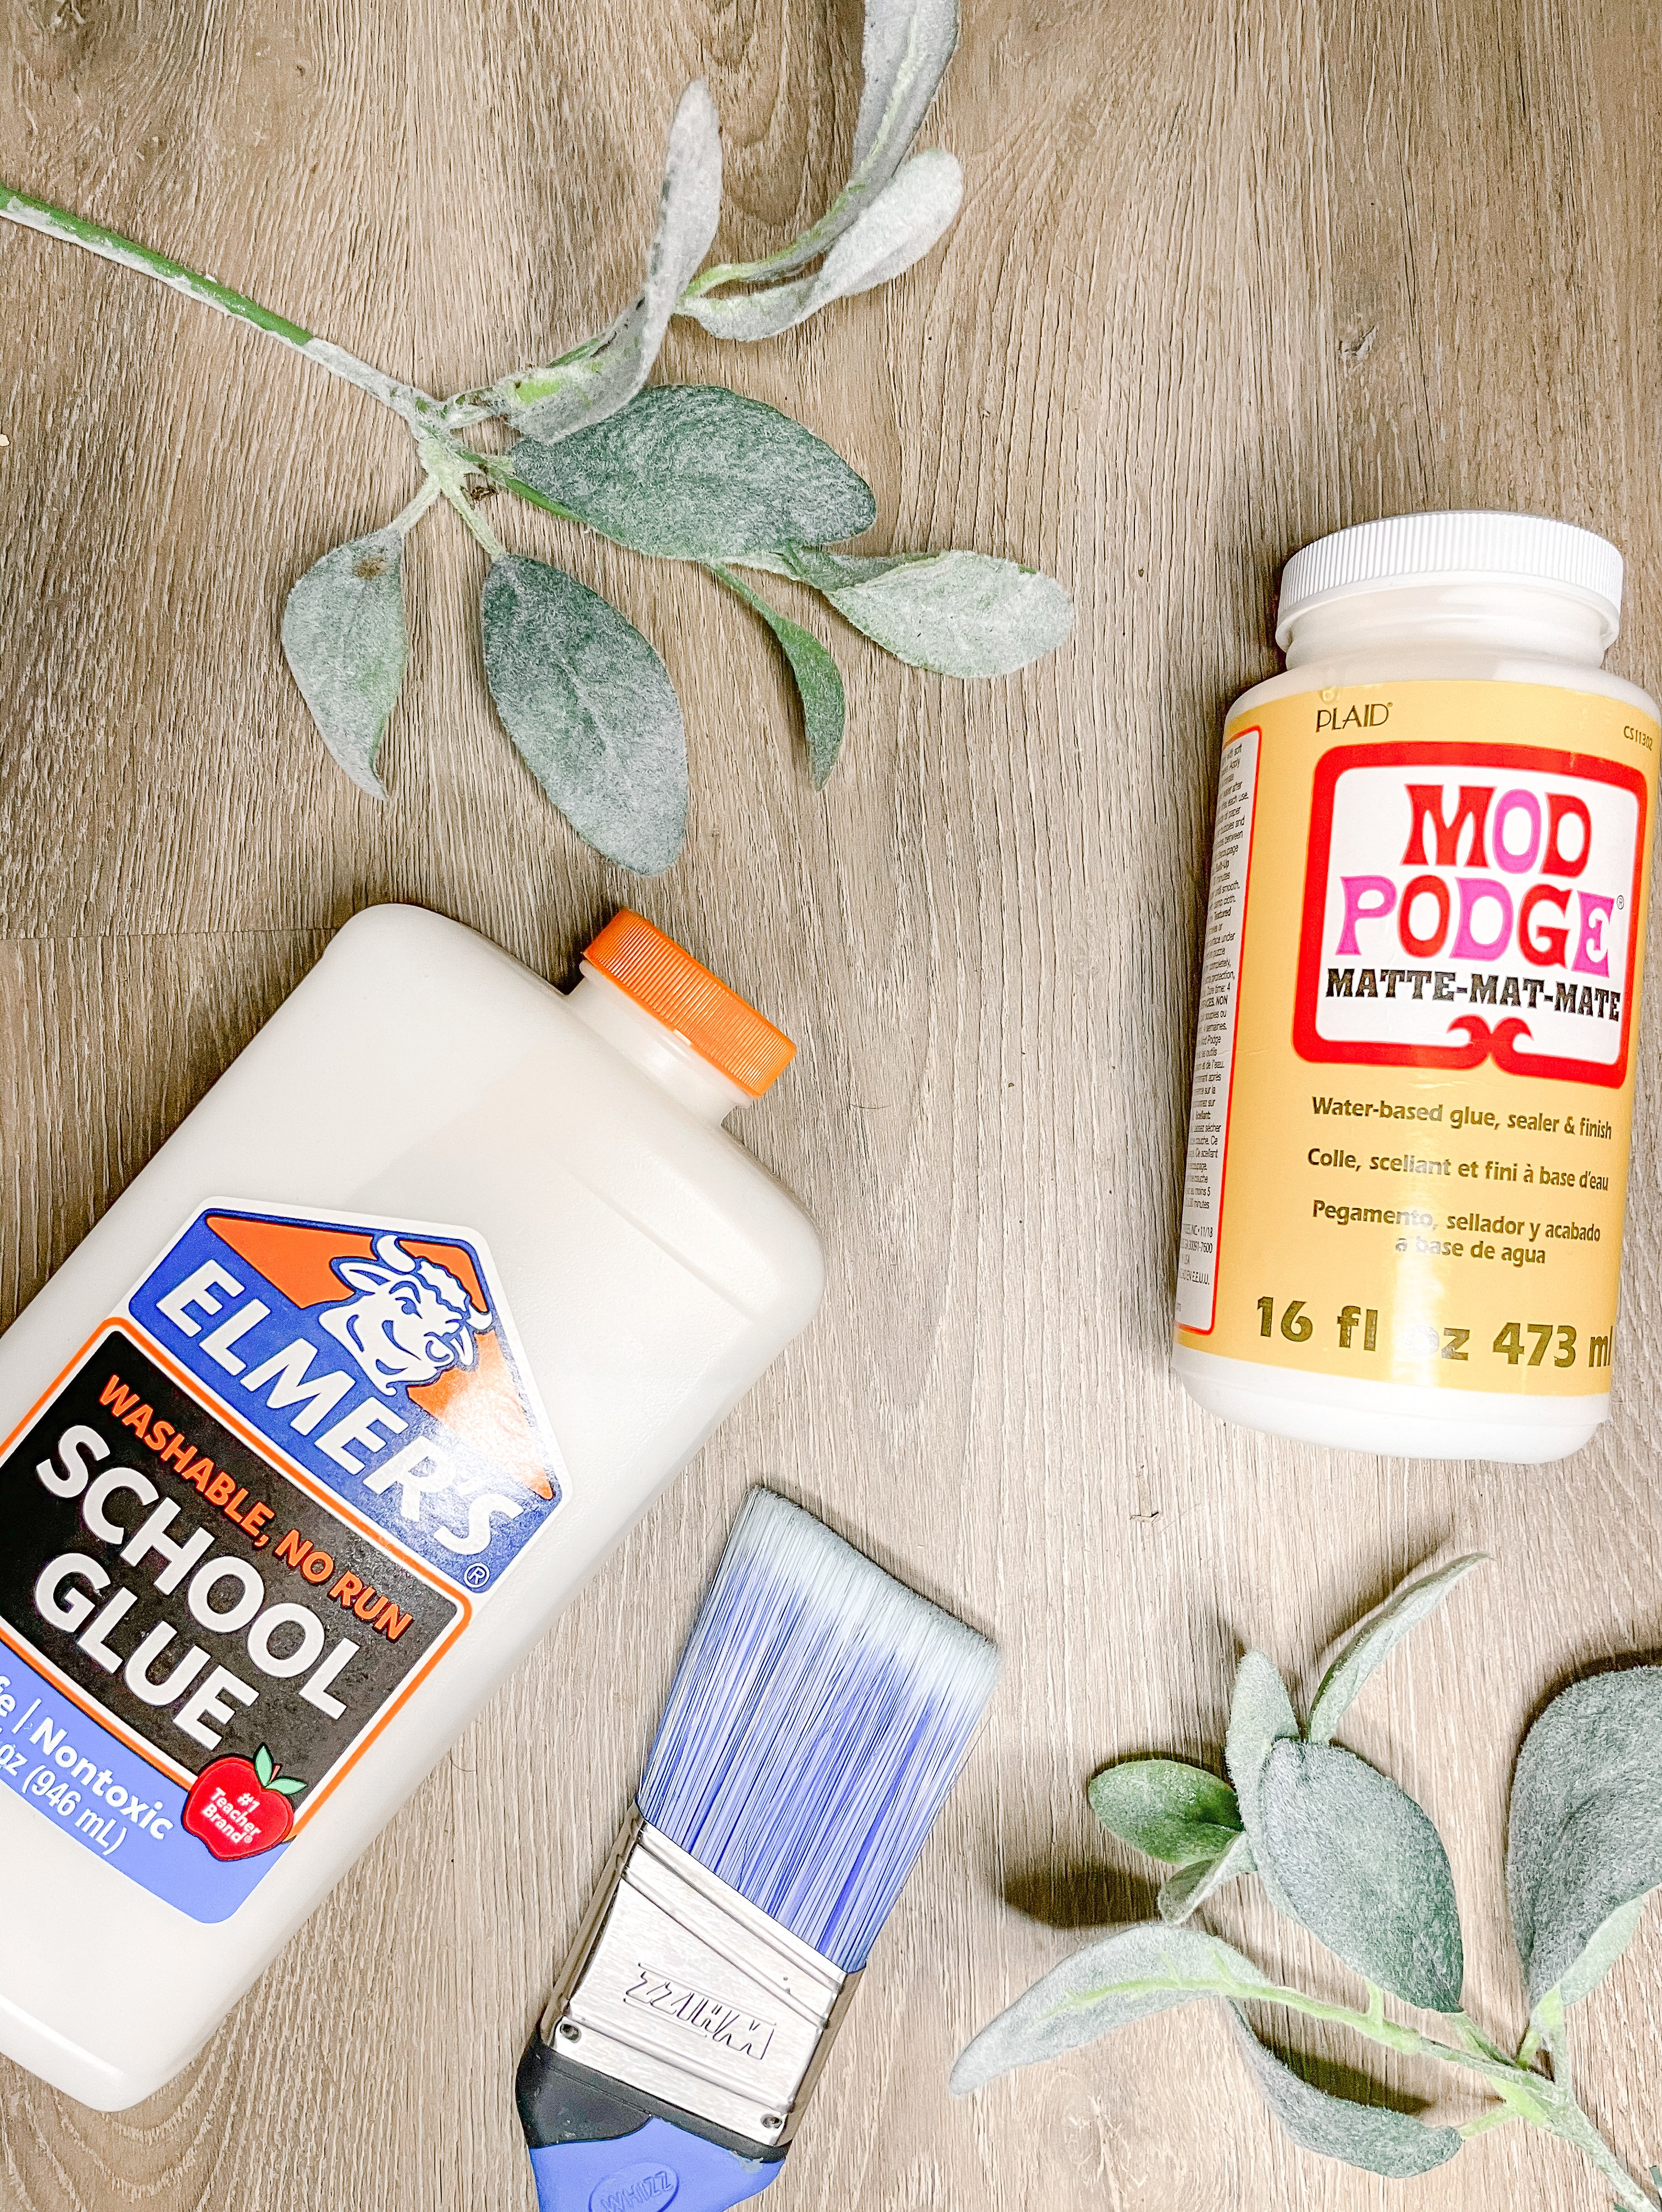
- First, apply a layer of glue (typically Mod Podge) which can be slightly watered down for smoother application to the surface of desired project.
- Then apply a layer of glue to the back of chosen paper.
- Place paper on surface and smooth with hand carefully to avoid ripping the paper.
- Coat exterior of paper with another layer of glue to seal and protect the applied paper from damage.
Mod Podge Vs. Elmer’s Glue
Mod Podge can be directly applied to paper with or without dilution via water, and is the more popular choice for decoupaging. The ingredients of Mod Podge are made up mainly of water and polyvinyl acetate, a common ingredient in most white glues. The main difference between this and other crafting glues is that Mod Podge goes an extra step beyone other glues and adds ingredients make this glue superior for glueing, sealing, and finishing—regular craft glues typically are only typically good for gluing.

But Modge Podge can get expensive, especailly when applying to a large surface area, so when I heard about the cheaper hack that uses a watered down Elmer’s Glue I knew I needed to try it.

According to a basic google search, the ratio to create “home made modge podge” from Elmer’s glue is 1/3 cup water for every 2/3 cups of Elmer’s glue. So I mixed some up and got to work to put it to the test
My Project
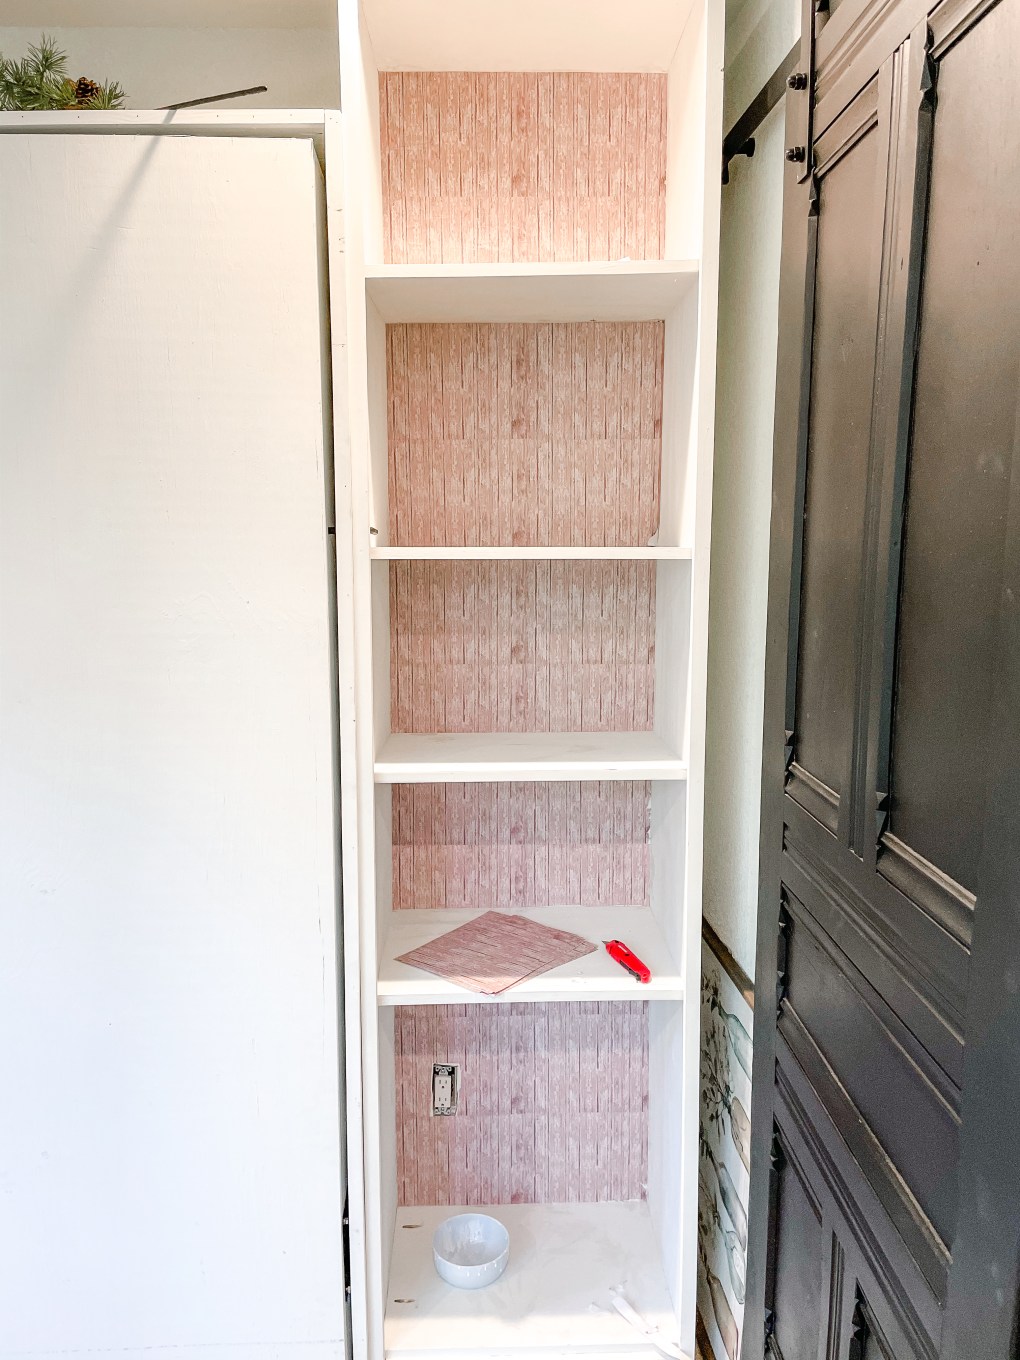
I decided to add paper to the back of my Murphy Bed shelves to give a fun contrast. (This was before I decided to paint them, but I love how the paper looks against my color choice). I used 12×12 sheets of scrapbooking paper, purchased from Hobby Lobby. I originally chose the more pink paper to the left, but after applying it I switched it out for the right. Not really relevant to this experiment, but notable nontheless.

Because I have two sets of shelving, Mod Podge was applied to the left, and the Elmer’s mixture was used to apply the right. I used the same technique as described above. After allowing both sides to fully dry, I was able to cut the excess paper with a box cuter knife to give relatively clean edges.
My Conclusion
I found the Elmers mixture a little frustrating to work with. It did not seem to stick as well, and left significantly more air bubbles between the surface of the shelf wall and my paper. Because this won’t get too much contact and wear, I think it will hold up alright, but definetly would have used the Mod Podge on both sides.

I think the Elmer’s mixture may work better with a less dilute ratio, and for me it did technically work, it just isn’t my favorite. The end result is still beautiful, and I love how easily this technique can transform a piece, but I guess I’ll be sticking with the real deal for now!

Talk soon,
xx, Lanna